How to Create an Instagram Account and Schedule Posts
Do you know how to create an account on Instagram? This network is one of the most popular and has grown the most in recent years. In it, you can find millions of accounts on any topic you can think of, so there is sure to be something that interests you.
Creating an Instagram account is very simple, but getting the most out of this network has challenges. Therefore, we are going to see how to open accounts from web and mobile, how to make real-time or scheduled publications, and how to make the most of hashtags. To start with your Instagram Advertising, you must first know how this booming social network works correctly.
Let’s go for it!
How to create an Instagram account step by step
From your mobile
One thing to be clear about is that Instagram is a network specifically designed to be used from a mobile phone. While you can do some things from a desktop or laptop (as we explain below), it’s best to create your Instagram account and use it directly from your mobile.
And you can have the steps written here:
- Download the Instagram app from the Google Play Store (if you have an Android phone) or from the App Store (for iPhones).
- Tap the app icon.
- Now, you must choose between different options to register: with your Facebook account, with your email, or with your phone. Once you’ve chosen your preferred option, tap Next.
- If you have registered with your phone number, Instagram will send a verification code to your mobile via SMS. Write it down to continue.
- If you signed up with an email, you’ll be asked to enter a username and password. The username must be unique, so if it already exists, you will have to think of another one.
- And that’s it! You can now start customizing your profile and uploading the first photos.
From a computer
The functionalities offered by Instagram for computers are limited; For example, you won’t be able to upload photos and videos. But it is possible to register, log in to your account, see posts from the rs and “like” them, for example.
Follow the steps detailed here:
- Go to www.instagram.com
- Choose between one of two options to sign up: using your Facebook account or entering your email address, username, and password.
- Click Sign Up or log in to Facebook (if you haven’t already). Ready!
Getting started with customizing your account
To make your Instagram account truly unique and represent you, you’ll need to customize your profile. To do this, we recommend that you fill in these fields:
- Name: In addition to your username, you can enter your real name or one that identifies you here. You can use 29 characters.
- Biography or description: A short text that explains who you are and what you do. You can use 150 characters. Remember that emoticons are supported.
- URL: If you have a blog or website of your own, this is the ideal place to include a link to it.
- Photo: The main image of your account. Since Instagram is based precisely on photo sharing, this image is a very important part of your identity. You can upload a photo or select your Facebook or Twitter profile picture.
And speaking of Facebook and Twitter, another option to customize your account is to link to other social networks that you use. To do this, you must access your profile, click on the cogwheel icon, and look for the “Linked accounts” option. Here you can link to other networks and choose if you want to share your Instagram content on them.
Another issue to consider before taking your first steps on Instagram is privacy. By default, when you create an account on Instagram, it’s always public. That is, anyone who finds your profile can see all the photos you have uploaded.
If you prefer your photos to only be visible to whomever you choose, you’ll need to make them private. This way, if a user wants to see what you post, they will have to send you a request to follow you. You decide whether to accept him or not.
To privatize your account, go to your Instagram profile and click on the Options icon. Once there, look for the Private Account option and activate it. A window will open with the question “Switch to private account?” and more information about this action. To confirm, tap the OK button.
How to post on Instagram
You’re now ready to upload your first photos and videos to Instagram! Let’s see how to do it.
In the feed (videos, images)
- Select the square icon with the plus symbol that appears in the bottom bar of the app. The camera will appear automatically.
- Choose from different options to take a photo or video, or select them from your camera roll. You can also select several images at the same time by clicking on the third icon that appears in the lower right corner of the image.
- Now, you can edit your image with one of the options offered by Instagram: change the filter, brightness, texture, contrast, color, lights… There are plenty to choose from, so we recommend that you explore them little by little.
- To finish, write a text to accompany the image and add the hashtags you prefer. You can also select whether you want it to be shared on one of the social networks that you have linked to your profile. Ready!
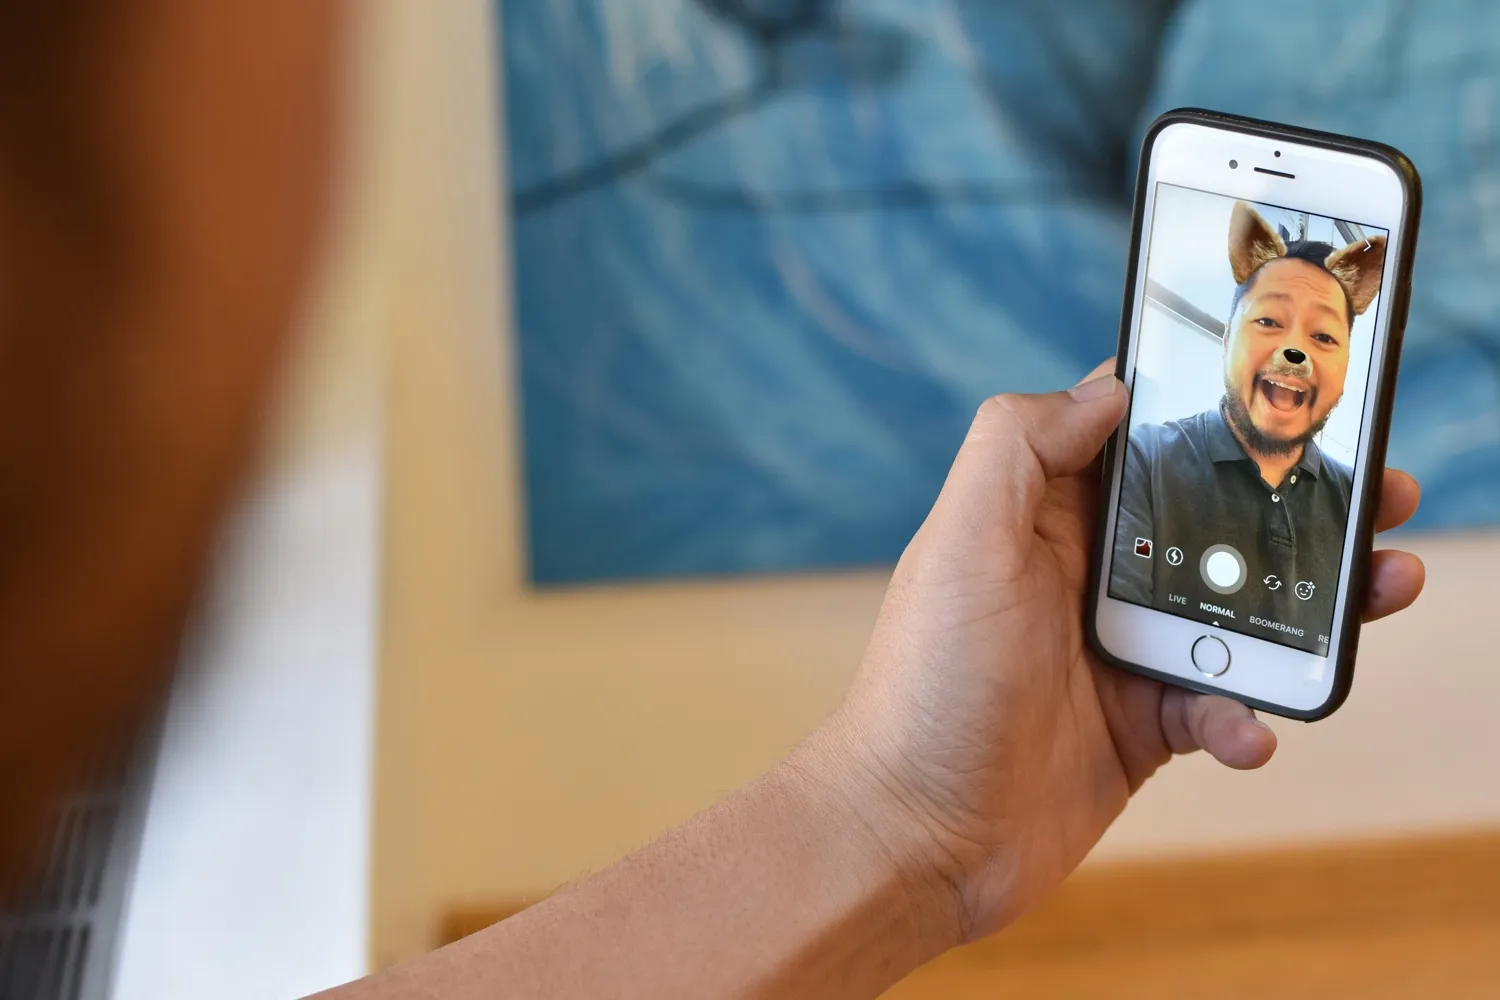
In Stories
Stories are an Instagram tool that allows you to post photos and videos to all your contacts, with the peculiarity that they will only be visible for 24 hours. Of course, you can also see the Stories shared by other people you follow.
To create your own Story:
- Within the app, tap the camera image that appears in the top left bar.
- Choose from the different options that appear when you swipe at the bottom of the screen: live (to broadcast a video in real time), normal (takes a photo if you press the button once and a video if you hold it down), or one of the many video effects (boomerang, superzoom, TV show…). Just like when it comes to photo editing, you have a lot of options to choose from, so try it out until you find your favorite!
- Now, you can continue to customize your video or photo by adding texts, images, hashtags, GIFS, the time and place, or even a poll.
- Ready! You can now add the content you’ve created to your story, or save it to your phone’s pictures folder and send it to your friends if you don’t want it to be public. Once you’ve shared your story, you can see who has viewed it.
If you want it more detailed, you can watch this video where it is explained step by step how to post on Instagram Stories:
If you want a story to stay on your profile permanently, instead of disappearing after 24 hours, you can create a featured story. Go to the Featured Stories section of your profile and select “New.” Once there, you’ll be shown the latest stories you’ve created. Choose the one you prefer and add a title and cover image to it.
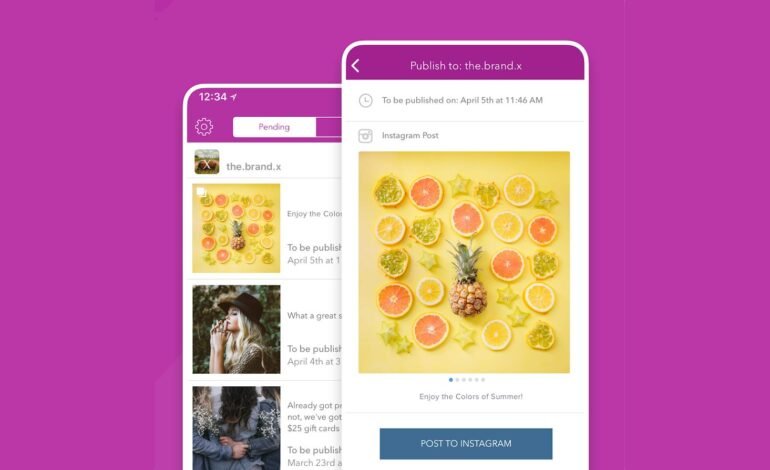
How to schedule posts
The options we have seen so far are used to make publications on the spot, that is, they are published right after they have been created. But sometimes you may find it convenient to create a photo or video and schedule it to be published without needing to use the Instagram app at the time.
Well, the good news is that there are apps specially designed to make your life easier and schedule your Instagram posts. Here are some examples:
- Socialgest: to schedule up to one publication a day from your computer.
- Wisel. In this case, the photos are programmed entirely from the mobile application.
- Later: in addition to posting photos on Instagram through the web, we can also search for content by hashtag and by user and repost. Of course, it must be taken into account that it will send a notification to your mobile phone at the time you have scheduled for you to reconfirm.
How to succeed with your Instagram posts
Do you want to get more followers and likes? Take note of these recommendations:
- Be patient. The key to taking better photos in the end is practice, practice, and more practice. Take all the images you need, choose the best ones, and invest the time necessary in editing them to realize their full potential.
- Use an external app to edit the photos. As we explained before, Instagram offers many options for editing your photos, so it may be a good idea to start by researching them thoroughly. But according to experts, the filters offered by the Instagram application are not the best. If you want to go a step further, you can download a specific application to edit your photos, such as VSCO or A Color Story.
- Organize your images by theme. Your Instagram account is still a reflection of your tastes, so think about how you can express it through images: travel, food, cityscapes…
- Use Stories. This feature is super popular in our country, so it’s a great place to make yourself known.
- Tell a story. Whether it’s through Stories or the photos and videos in your feed, think about what you want to communicate. In the end, the posts that work best are the ones that convey a story.
- Use the emoticons! Remember that Instagram allows you to use emoticons both in your bio/description and in the texts that accompany the photos, so you have an extra resource to express yourself.
- Post at key times of the day. There are many studies on the best time to post on Instagram. The times with the most options to succeed are those with more users connected (for example, the time of the commute to work) or those with relatively little “competition” (late at night). Since many factors can play a role, it’s best to test by posting at different times and see what works best with your account. And you know, if you don’t want to be aware of your phone, you can always program your photo or video with one of the apps in the previous section.
How to Get the Most Out of Hashtags
Hashtags are a feature that originated on Twitter and expanded to other social networks, including Instagram. They consist of keywords preceded by a hashtag, which are used to tag posts. This way, when users search for content on a particular topic, they can easily find it.
Using hashtags well is very important, as it will help other users find you and follow you. Take note of these tricks and see how they work:
- Although you can use up to 30 hashtags in a single Instagram post, the ideal is to put between 5 and 10. This is how much the Instagram algorithm “likes,” so it will make your photos and videos stand out more. In addition, this way you avoid overwhelming users and make it clear what your image is about.
- Find the most used hashtags and use them. The more popular a particular hashtag is, the more users will use it and the more likely they are to see your posts. In general, very general words, such as #instagood, #love, or #happy, work best.
- Don’t be afraid to use hashtags in English, as they end up being used by users from all over the world.
- Take advantage of the trends of the moment. As in any social network, on Instagram, fashions and memes triumph, so take advantage of them to tag your publications.
- Go ahead and create your own hashtags. Be original and differentiate, you never know when a hashtag can go viral! Of course, remember that the keys to a hashtag are that it is easy to remember, has few characters, and is easily applicable to Instagram and other social media posts.